Your YouTube video’s thumbnail is the first thing your viewers see, and it can be the deciding factor between a click and a scroll. Therefore, learning how to make a thumbnail for YouTube videos can be the one thing that elevates your performance to new heights.
In this article, we’ll break down everything you need to know about creating engaging YouTube thumbnails.
Table of Contents
YouTube Thumbnail Size and Dimensions
The first step to learning how to make a thumbnail for YouTube is determining the appropriate size. Understanding the size and dimensions of your YouTube thumbnail is critical for ensuring that your videos appear professional and visually appealing across different platforms and devices. Here’s a more in-depth look at the requirements and significance of thumbnail size and dimensions:
1. Recommended Size
- 1280 x 720 Pixels: This is the standard recommended size for YouTube thumbnails. By using this size, you make sure that your thumbnail has a clear and crisp appearance on various devices, including desktops, tablets, and smartphones.
- Aspect Ratio of 16:9: The recommended aspect ratio for YouTube thumbnails is 16:9. This ratio is common across many video platforms, making a 16:9 thumbnail fit seamlessly into the YouTube interface. When a thumbnail is out of proportion, it can appear stretched or cramped, which lowers its visual appeal.
2. Minimum Width
- 640 Pixels Minimum: YouTube allows thumbnails to be a minimum of 640 pixels wide. While it is possible to upload images of this size, thumbnails designed at the recommended dimensions of 1280 x 720 pixels have better quality and visibility, especially when viewed in larger formats.
3. File Size Consideration
- Keep It Under 2MB: YouTube accepts a maximum file size of 2MB for thumbnails. Thumbnails should ideally be saved in formats such as JPEG, PNG, GIF, or BMP. Larger files can result in slower loading times and may be compressed by YouTube, compromising image quality.
4. High-Quality Resolution
- Avoid Pixelation: Using images that are too small or stretched beyond their original dimensions can lead to pixelation, where the quality of the image decreases, resulting in a blurry or unprofessional appearance. Always start with high-quality images that can be resized to prevent such issues.

5. Responsive Design
- Display Across Devices: YouTube thumbnails are displayed in various contexts, including search results, recommended video lists, and within the video player. Making your thumbnails maintain their effectiveness at different sizes is crucial; they should be eye-catching and readable not only on a computer screen but also on mobile devices, where thumbnails are often smaller.
6. Image Format Recommendations
- File Formats: When saving your thumbnail, consider using file formats that allow for high quality. While JPEG is commonly used due to its smaller file size, formats like PNG are preferable for thumbnails with text or graphics because they often deliver higher-quality images with better clarity.
7. Testing and Optimization
- Assess Various Sizes: Before finalizing your thumbnail, test how it appears across various devices. Make sure it maintains its quality and appeal, whether viewed on a smartphone or a larger desktop monitor. Thumbnails that look compelling at various sizes will likely perform better.
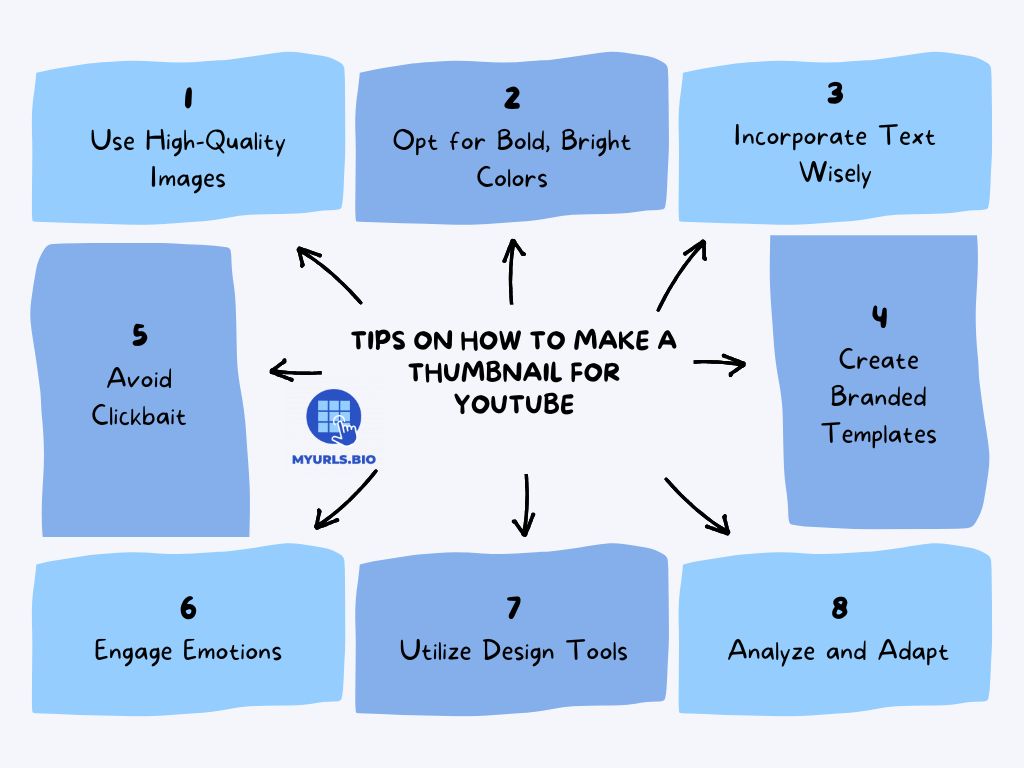
Tips on How to Make a Thumbnail for YouTube
When learning how to make a thumbnail for YouTube videos, sticking to tested practices can significantly enhance the effectiveness and increase viewer engagement. Thumbnails are not only essential for attracting clicks but also for conveying the essence of your content. Here are some tips to keep in mind when making a YouTube thumbnail:
1. Use High-Quality Images
- Resolution: Start with high-resolution images that are clear and visually appealing. Poor-quality or pixelated images can turn viewers away, as they suggest a lack of competence.
- Relevance: Choose images that are directly relevant to the video’s content. This helps set viewers’ expectations, making it more likely that they will click and watch your video.

2. Opt for Bold, Bright Colors
- Contrast: Use colors that contrast well with each other to make your thumbnail pop. High-contrast color combinations attract attention and improve visibility, especially in a crowded feed.
- Color Psychology: Different colors evoke different emotions. Choose colors that resonate with the mood of your content. For instance, energetic and warm colors like red and orange can convey excitement or urgency, while cooler tones like blue can suggest calmness and reliability.

3. Incorporate Text Wisely
- Clarity and Brevity: Keep any text minimal and to the point. Use short, punchy phrases that summarize the video’s main idea. Long sentences can be overwhelming and difficult to read quickly.
- Font Choices: Choose simple, readable fonts. Avoid overly decorative styles that may make the text unreadable, especially on smaller screens.
- Text Placement: Position your text where it does not cover critical elements of the image. The text should enhance the design without taking away from the main visuals.

4. Create Branded Templates
- Consistency: Develop a unified look for all your thumbnails. Using consistent colors, fonts, and styles builds brand recognition and makes your content instantly recognizable to viewers.
- Logo Placement: Include your logo in a selected corner to promote brand awareness without overpowering the thumbnail’s primary image and message.
5. Avoid Clickbait
- Honesty Matters: Make sure that your thumbnail accurately reflects the content of your video. Misleading thumbnails may lead to higher initial clicks but can significantly increase bounce rates. This negatively affects viewer trust and can harm your YouTube channel’s reputation over time.
- Content Relevance: Try to give viewers a brief insight into what they will learn or experience in the video. This not only boosts clicks but also facilitates a loyal audience that appreciates the integrity of your content.
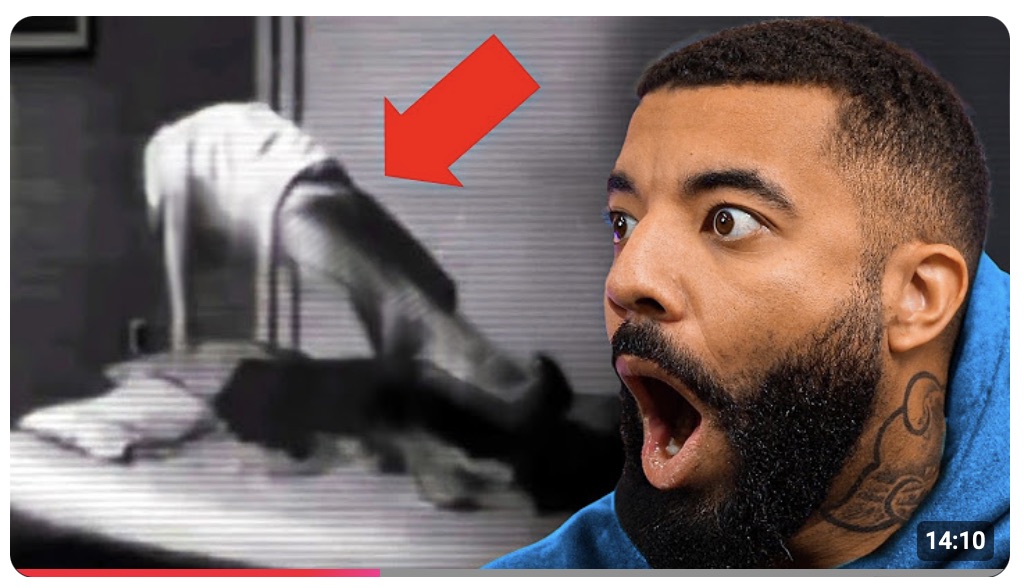
6. Engage Emotions
- Facial Expressions: Thumbnails featuring human faces, particularly close-ups with strong emotions, can create a connection with potential viewers. People are naturally drawn to expressive faces, which can add an emotional element to your thumbnail.
- Dramatic Imagery: Use images that evoke curiosity, excitement, or suspense. This can vary from action-packed scenes to serene landscapes, depending on your video’s theme.
7. Utilize Design Tools
- Thumbnail Creation Software: Leverage design tools like Canva, Adobe Photoshop, or Figma to create visually appealing thumbnails. These platforms often provide templates specifically for YouTube, allowing you to customize them easily.
- Thumbnail Templates: Consider using pre-designed templates that fit your style. Many design software options offer customizable templates for various niches, simplifying the design process.
8. Analyze and Adapt
- Competitor Insights: Research successful thumbnails in your niche to identify patterns and styles that attract viewers. Observing what works for others can spark inspiration for your designs.
- A/B Testing: Experiment with different thumbnail designs for the same video. Track engagement metrics to understand which elements work best. Use this analysis to refine your approach and continuously improve future thumbnails.
Conclusion
Learning how to make a thumbnail for YouTube isn’t just a fun side project; it’s a key ingredient in your recipe for content-creating success, whether it’s elevating a YouTube brand account or using the YouTube Partner Program. With so much content out there, a killer thumbnail can make all the difference in getting viewers to click on your video instead of scrolling past it.
As you dive into the design process, keep experimenting and learning from your analytics. Lastly, don’t be afraid to try new trends and methods.
FAQs
1. How Can I Test Which Thumbnail Performs Better?
A/B testing is effective for evaluating thumbnails. Create different versions of your thumbnail for the same video and track their performance using YouTube Analytics to see which one attracts more clicks.
2. Can I Change the Thumbnail After I Upload My Video?
Yes, you can change the thumbnail after your video is uploaded. Simply go to YouTube Studio, select the video, and upload a new thumbnail at any time.
3. How Often Should I Update My Thumbnail Style?
While it’s important to maintain a consistent branding style, periodically refreshing your thumbnail design every few months can keep your channel looking current and engaging. Monitor performance metrics to see if changes are positively impacting viewer engagement.


